Add Content
Overview
There are several ways to add content in Engage. This page will cover the use of these methods.
Content Feed
If you use a CMS to manage images, video, or custom HTML content, the Content Feed gives you a fast way to load content into Engage. You'll continue to create and maintain your content in your CMS, updating it regularly by exporting a feed file from your CMS and loading it into the Relevance Cloud. For more information, see our Content Feed documentation.
Manually Adding Content
You can also add individual pieces of content to Engage without using a CMS.
-
On the Omnichannel Personalization dashboard, go to Content > Content Catalog.
- Click Add Content.

-
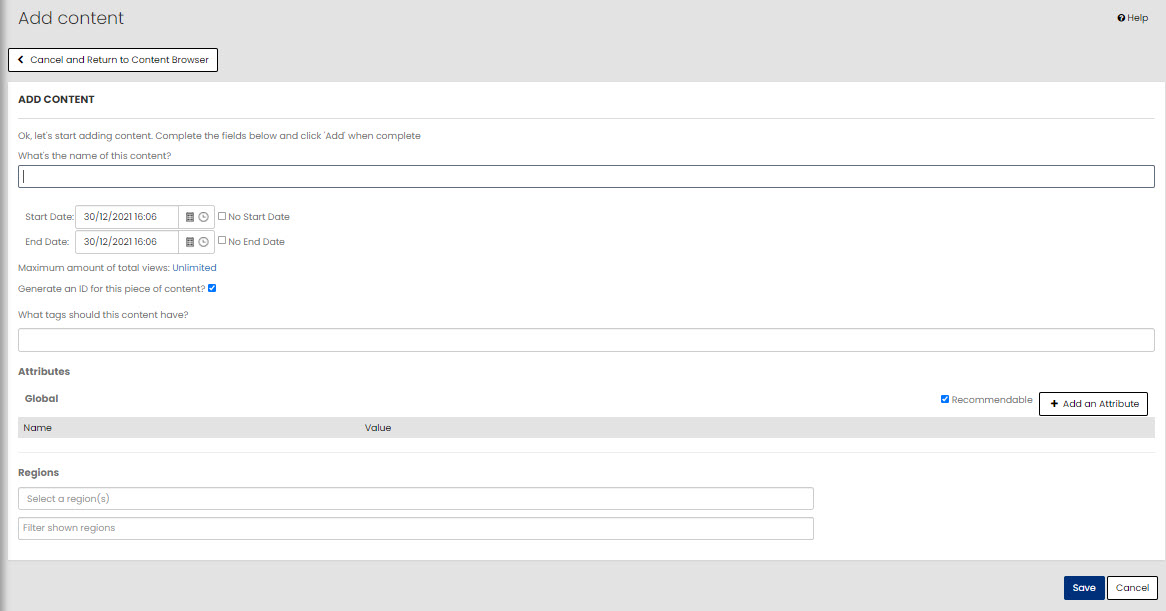
Specify the content name that will help you and your team member to identify it later.

-
Choose the Start Date and the End Date. The content will only be shown on and between the dates you choose.
-
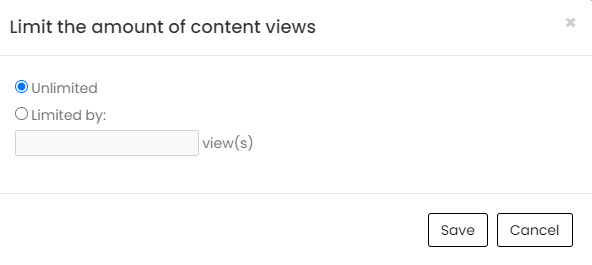
Set the maximum number of total views by clicking the Unlimited link, if necessary. Setting a maximum number of views will limit the number of times that content is served to viewers.

-
In the Limit the amount of content views window, select Limited by: and enter the desired number in the box and click Save.

-
Add Tags. You can choose from existing tags or enter new ones here.
-
Add Attributes for the content. At a minimum, you need to use at least one attribute as a qualifier in the layout used to display it on your pages.
We recommend starting with these attributes: - CLICK_URL: The CLICK_URL or landing page, where a customer should go when they click the image.
Note: CLICK-URL or LINK_URL is a required attribute to be passed in content by the client.
- IMAGE_URL: The URL that hosts an image (the creative).
- SIZE: Labels the dimensions of the image. Example: 250x300.
- TYPE: Lists the type of content. Possible values could include BANNER, VIDEO.
-
Click Save.
Adding Tag Groups
On the Tag Catalog page, there is a button titled Manage Content Groups that allows you to group content together for the purpose of de-duplicating (ensure it doesn't appear more than once) it on the same page. Any tags added to a group will have all their content de-duplicated within that group.
This is especially useful when there are multiple placements on the same page, and the same creative content exists in two different sizes and both pieces of content are eligible to run on that page. In Engage, those are two pieces of content, but the client may feel like they are the same content just in a different size and would like to ensure that they do not show together across placements at the same time. This can be achieved through the Groups functionality.
To access this page:
-
On the Omnichannel Personalization dashboard, go to Content >Tag Manager.
-
Click Manage Groups, this will open the 'Manage Content Groups' page:

-
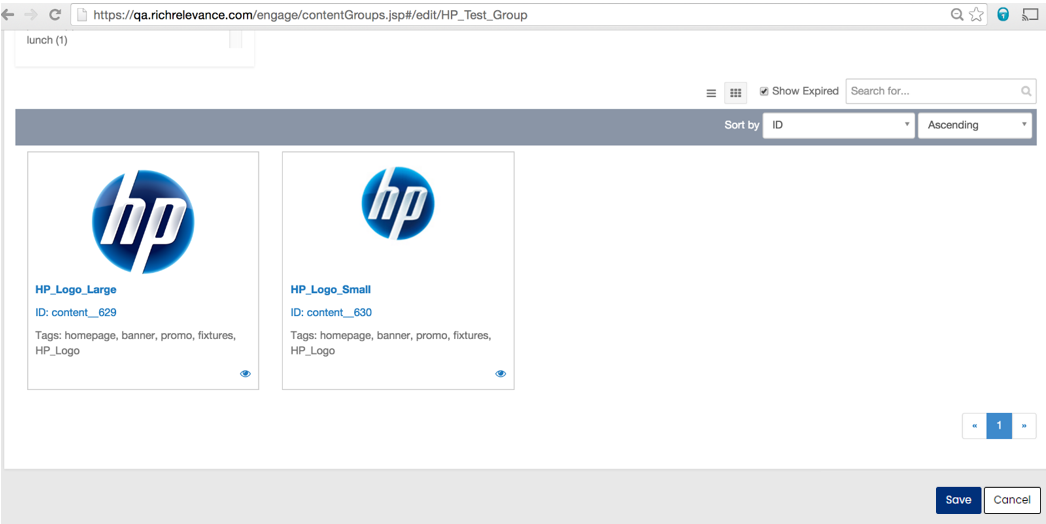
From there you can create a new group or edit an existing one. To assign the tags that will be part of this group, simply select from the set of existing tags shown on the left side and drag the tag over to the selection area.

-
The content associated with the selected tags will now show at the bottom of the page, and this is the content that will be deduplicated on a page. Add more tags to include more content for deduplication.
