Edit Content
To edit a content.
-
On the Omnichannel Personalization dashboard, go to Content > Content Catalog. The Content Catalog page is displayed with all available contents.

-
Click
 on the content you want to edit.
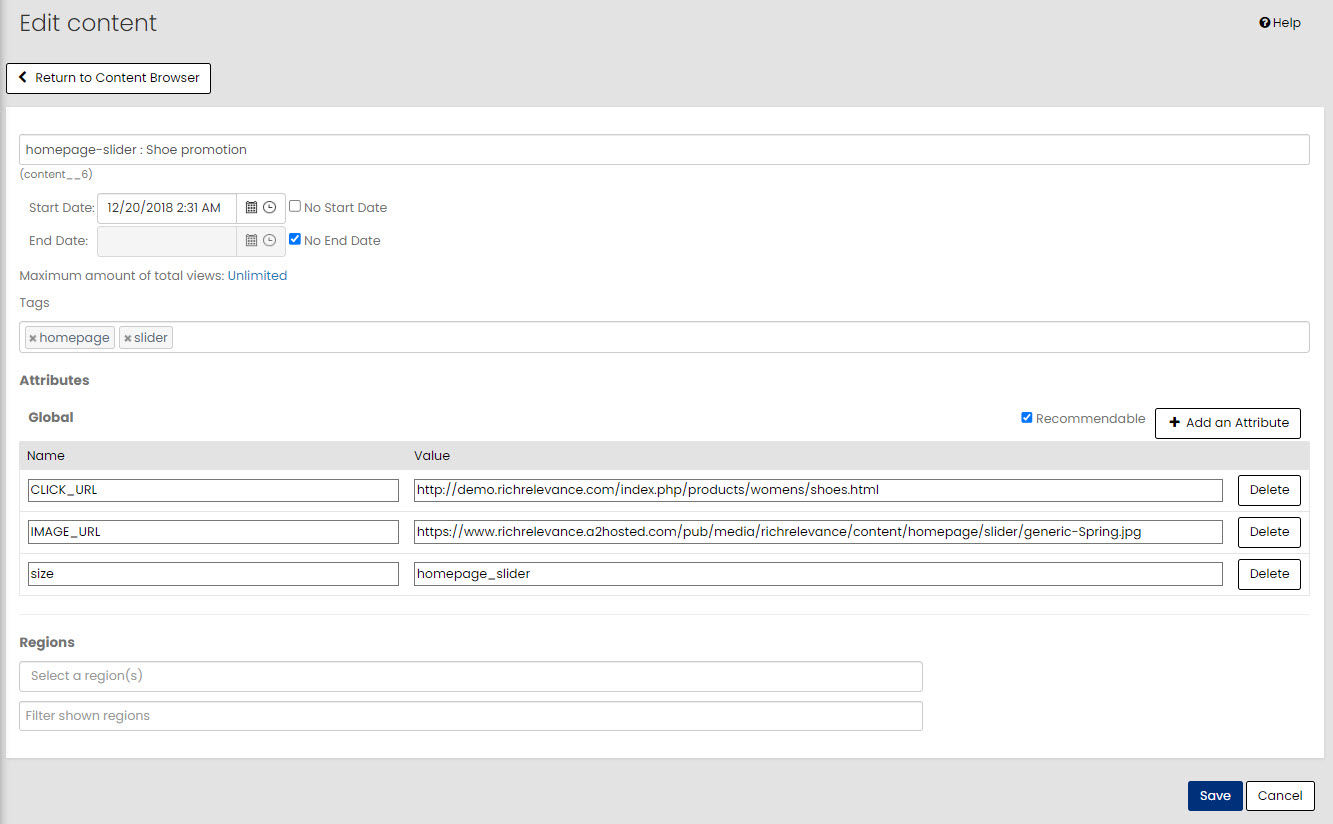
The Edit content page is displayed.

-
Edit the required details:
-
Start Date: Specify the start date.
-
End Date: Specify the end date.
The content will only be shown on and between the dates you choose.
-
Maximum amount of total views:
-
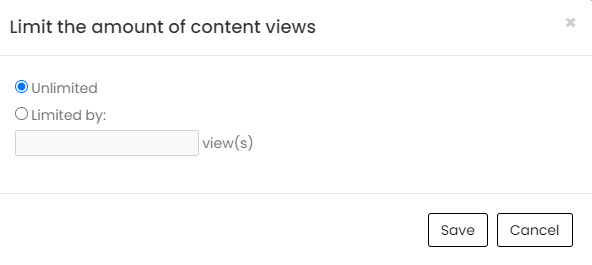
Click on the Unlimited link and edit. The Limit the amount of content views window is displayed.

-
(Conditional)
-
Select Unlimited for maximum number of views.
Note: Setting a maximum number of views will limit the number of times that content is served to viewers.
OR
-
Select Limited by: and specify the number of view(s).
-
-
Click Save.
-
-
Tags: Add or remove tags. You can choose from existing tags or enter new ones here.
-
Attributes: Add or remove attributes for the content. At a minimum, you need to use at least one attribute as a qualifier in the layout used to display it on your pages.
We recommend starting with these attributes:- CLICK_URL: The CLICK_URL or landing page, where a customer should go when they click the image.
Note: CLICK-URL or LINK_URL is a required attribute to be passed in content by the client.
- IMAGE_URL: The URL that hosts an image (the creative).
- SIZE: Labels the dimensions of the image. Example: 250x300
- TYPE: Lists the type of content. Possible values could include BANNER, VIDEO,
- CLICK_URL: The CLICK_URL or landing page, where a customer should go when they click the image.
-
Click Save.